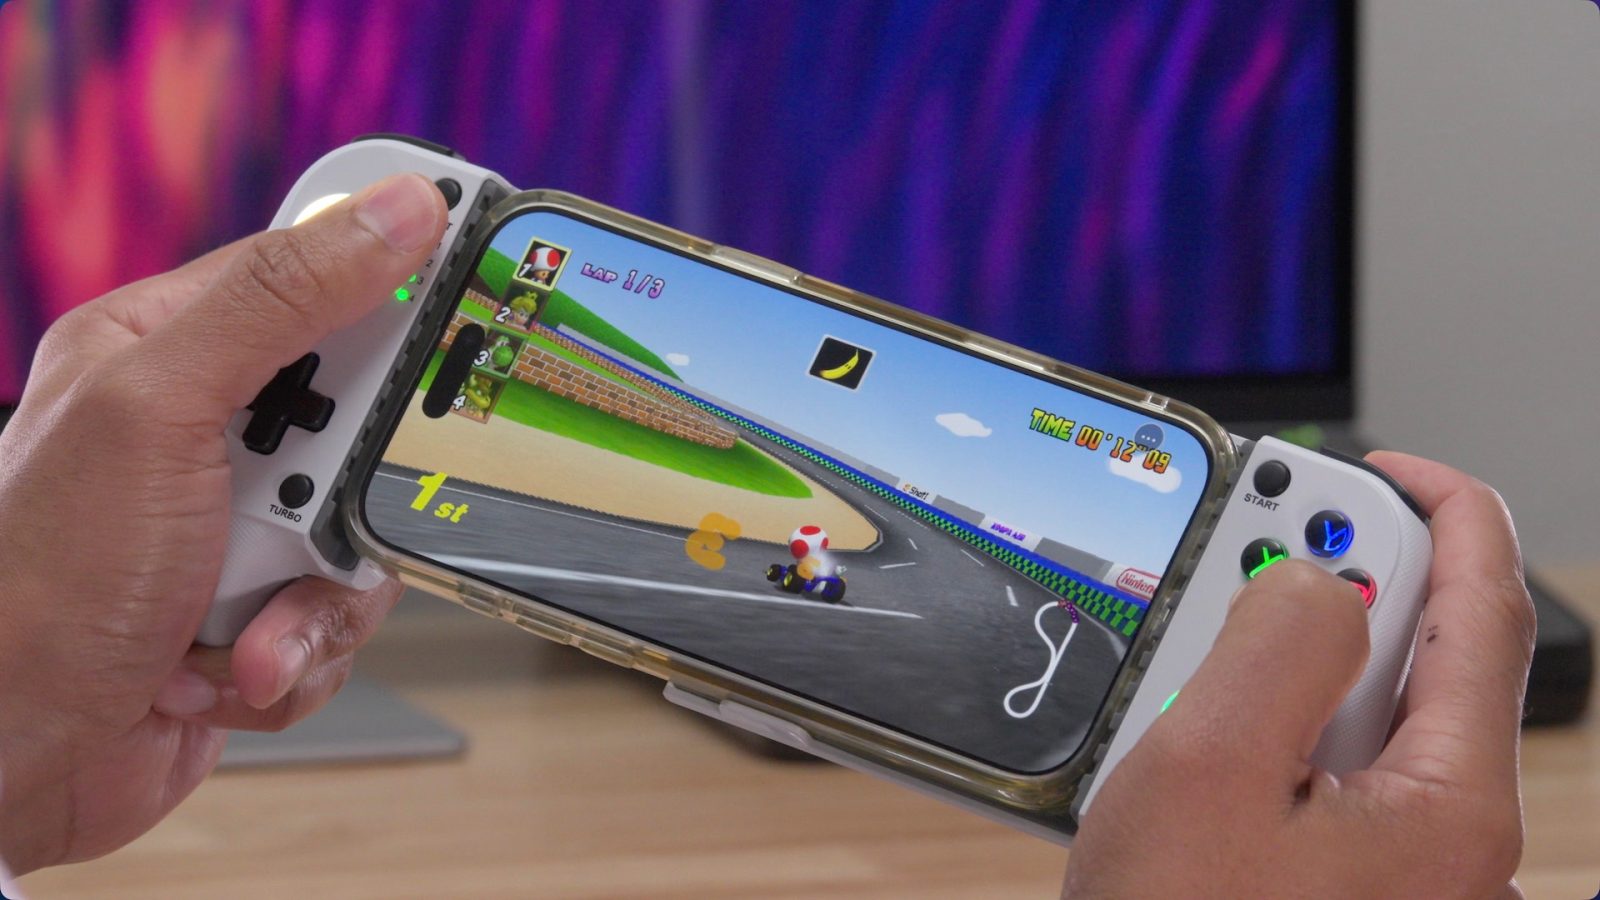
Love Mario Kart 64 and want to play it on iPhone? You may have tried Delta or another N64 emulator in the past to make that happen. And while that works, it’s now possible to run the classic cart racer with native Metal rendering on iPhone.
As we’ll discuss in this video and post, running Mario Kart 64 with native Metal rendering presents several key advantages over running the same game via an emulator. Combined with a Bluetooth controller like the Mocagen MC1, it’s the best way to play Nintendo’s classic cart racer on iPhone.
Native vs emulation?
Libultraship is a library that provides a reimplementation of the original N64 SDK on today’s hardware. SpaghettiKart is a PC source port of the original decompiled Mario Kart 64 cartridge that leverages that library. Developer Chris Sotraidis then repackaged SpaghettiCart as a native iPhone app called SpaghettiPad that features native Metal rendering, Bluetooth controller support, enhanced visual capabilities, and more.
Video tutorial
Subscribe to 9to5Mac on YouTube for more videos
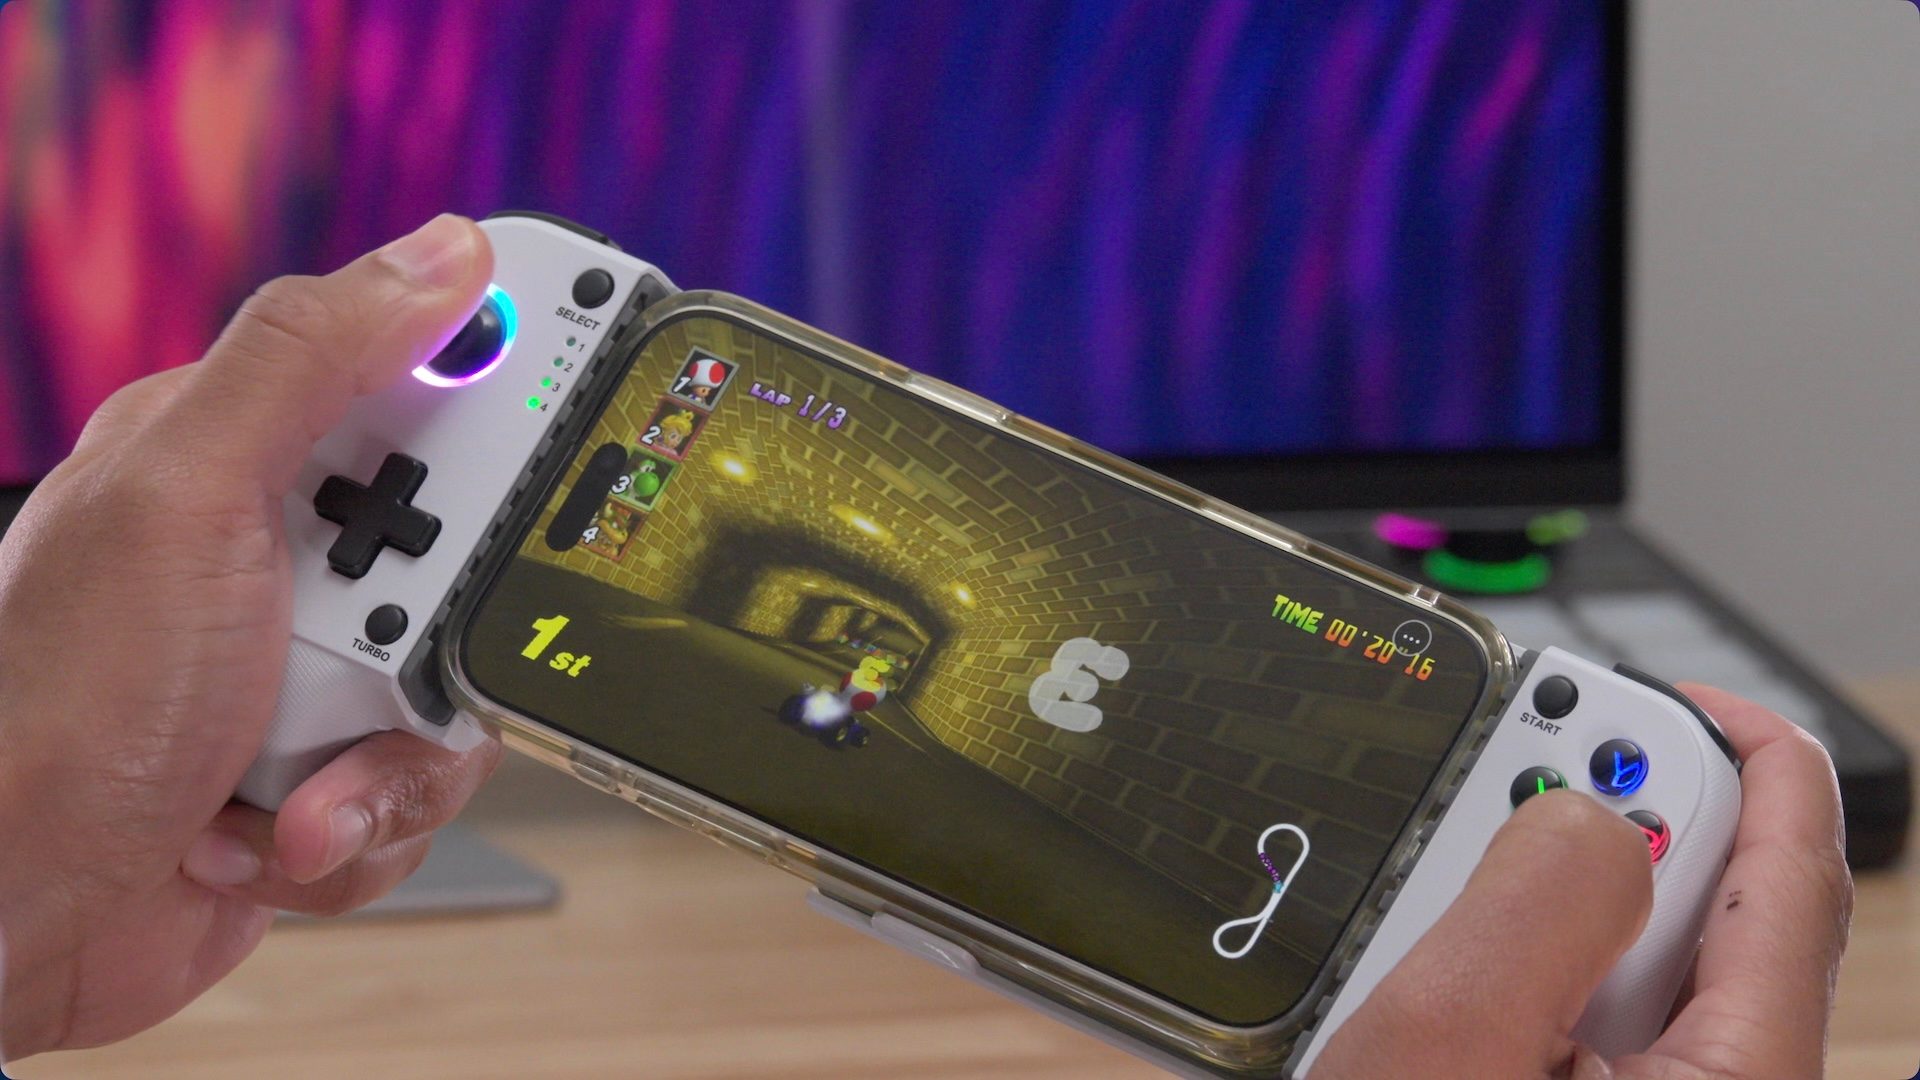
While it’s easier to get Mario Kart 64 running on iPhone via an emulator like Delta, running Mario Kart 64 natively on iPhone via SpaghettiPad provides a wide screen aspect ratio, frame rates up to 120 fps, higher resolution textures, better fps performance overall, plus lots of additional settings that aren’t available via emulation. And while SpaghettiPad isn’t devoid of glitches, I’ve noticed way less issues when compared to emulation.
One good example is Luigi Raceway, which features a jumbotron that mirrors your race activity. On the emulated version, the jumbotron is a choppy low frame rate mess, while it runs at a significantly higher locked-in fps on the native version. There a lots of little examples like this that I’ve noticed throughout my hands-on time.
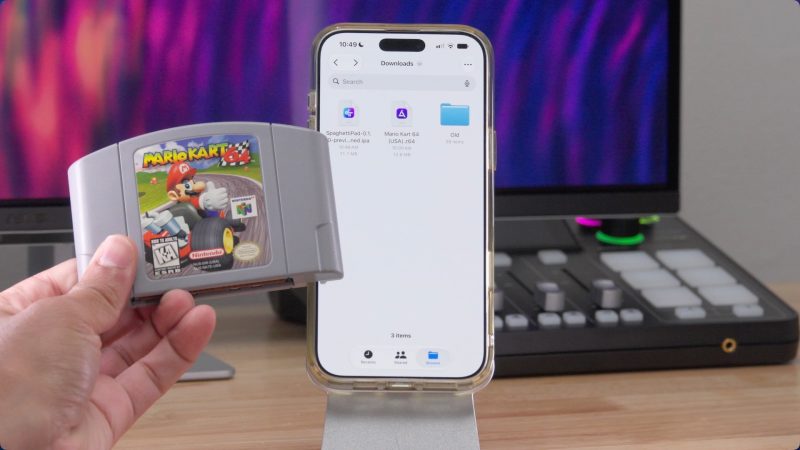
Disclaimer: I own the original Mario Kart 64 cartridge. If you own the cartridge, you can dump the required ROM file. We will not be covering how to do that or how to download any ROMs.
How to run Mario Kart 64 natively on iPhone
Install iLoader
Although iLoader can be used to sideload an .ipa directly to your iPhone, the primary reason to use iLoader for this tutorial is to use it as a way to facilitate the installation of SideStore.
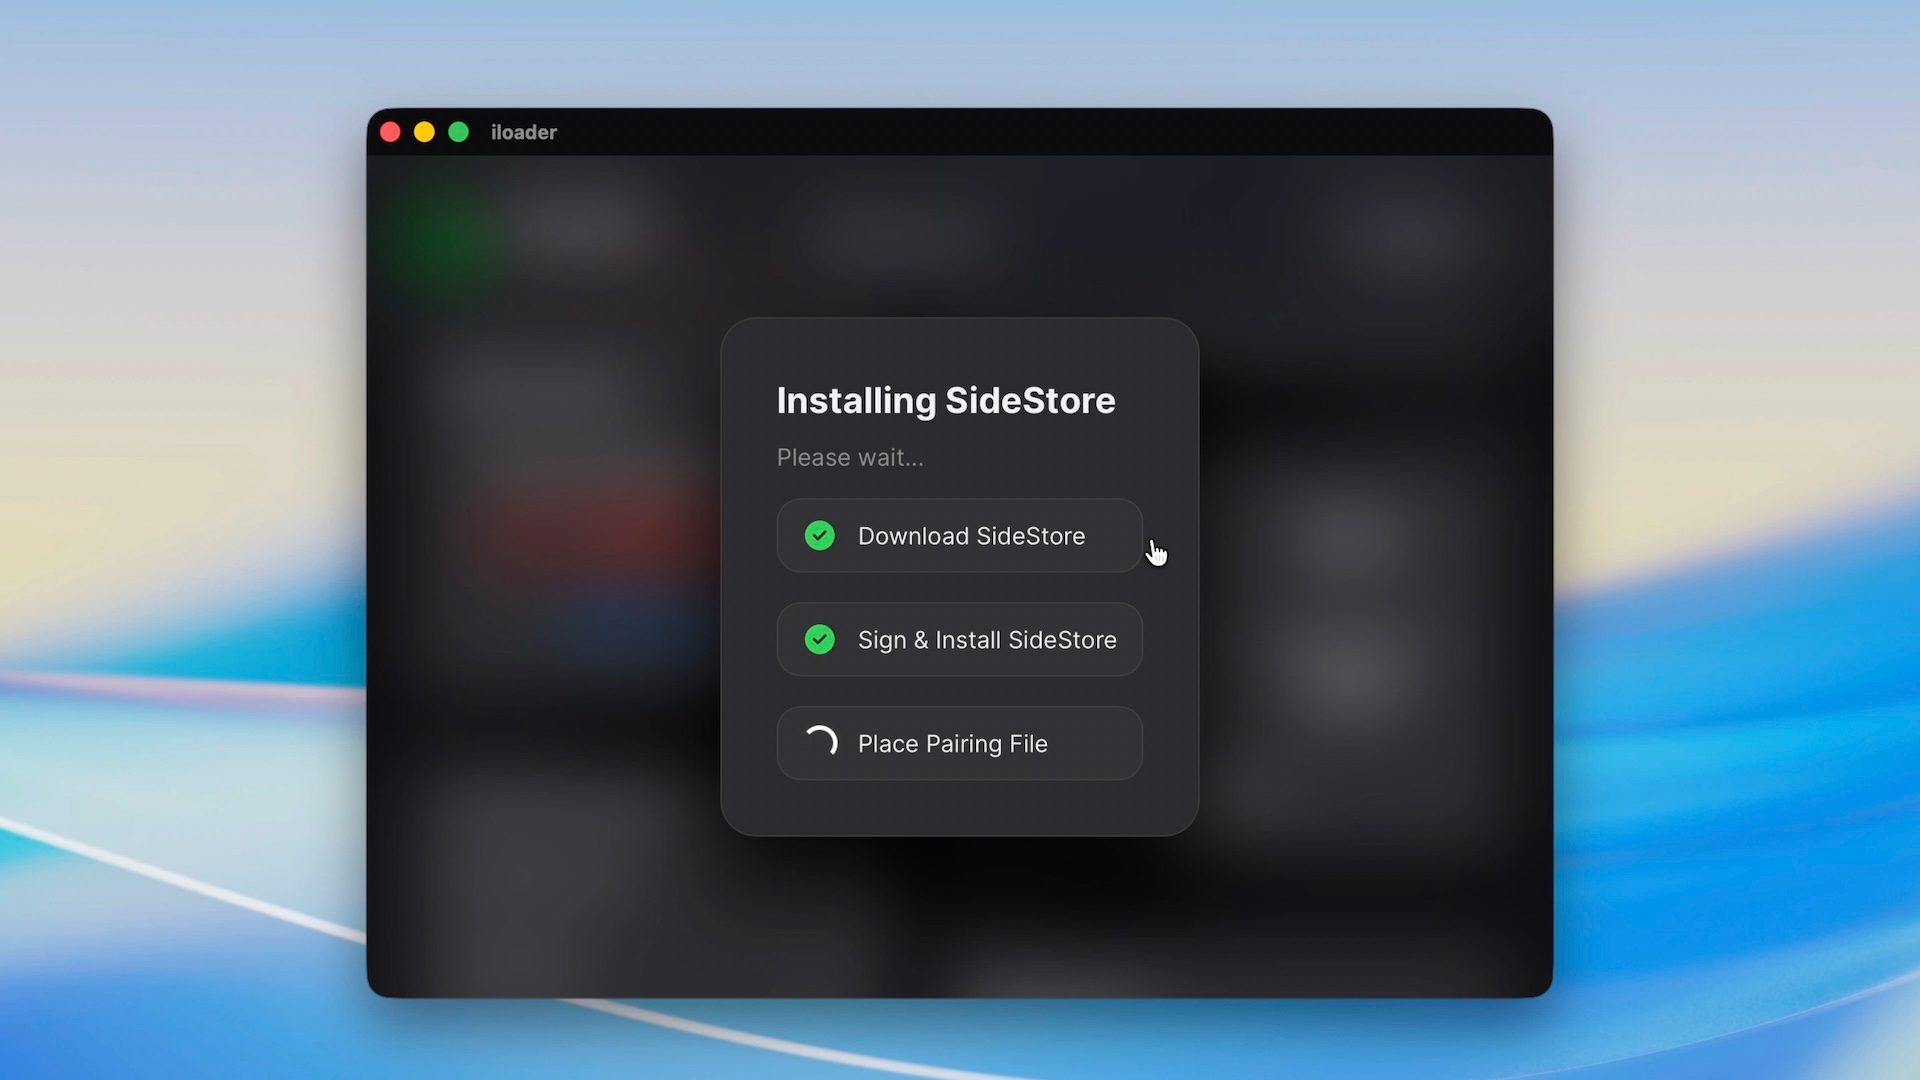
Step 1: Download iLoader via GitHub.
Step 2: Mount the iloader.dmg and drag the iLoader app to your Applications folder.
Step 3: Launch iLoader and connect your iPhone to your Mac via USB. If prompted to trust the computer, do so and enter your device passcode.
Step 4: Click refresh under Device s, and you should see your iPhone listed.
Step 5: Enter your Apple ID Email and Password, and click Login. This Apple ID does not have to be associated with the account on your iPhone, and you do not have to be registered as an Apple Developer to do this. If you have two-factor authentication enabled, you’ll need to provide the authentication code that you receive from Apple.
Install SideStore
SideStore is an AltStore fork that lets you add repos, install .ipas, and signs and resigns those applications in the background to keep Apple’s 7-day development period from expiring. SideStore works in concert with LocalDevVPN to allow for truly wireless and Mac-free side-loaded app management.
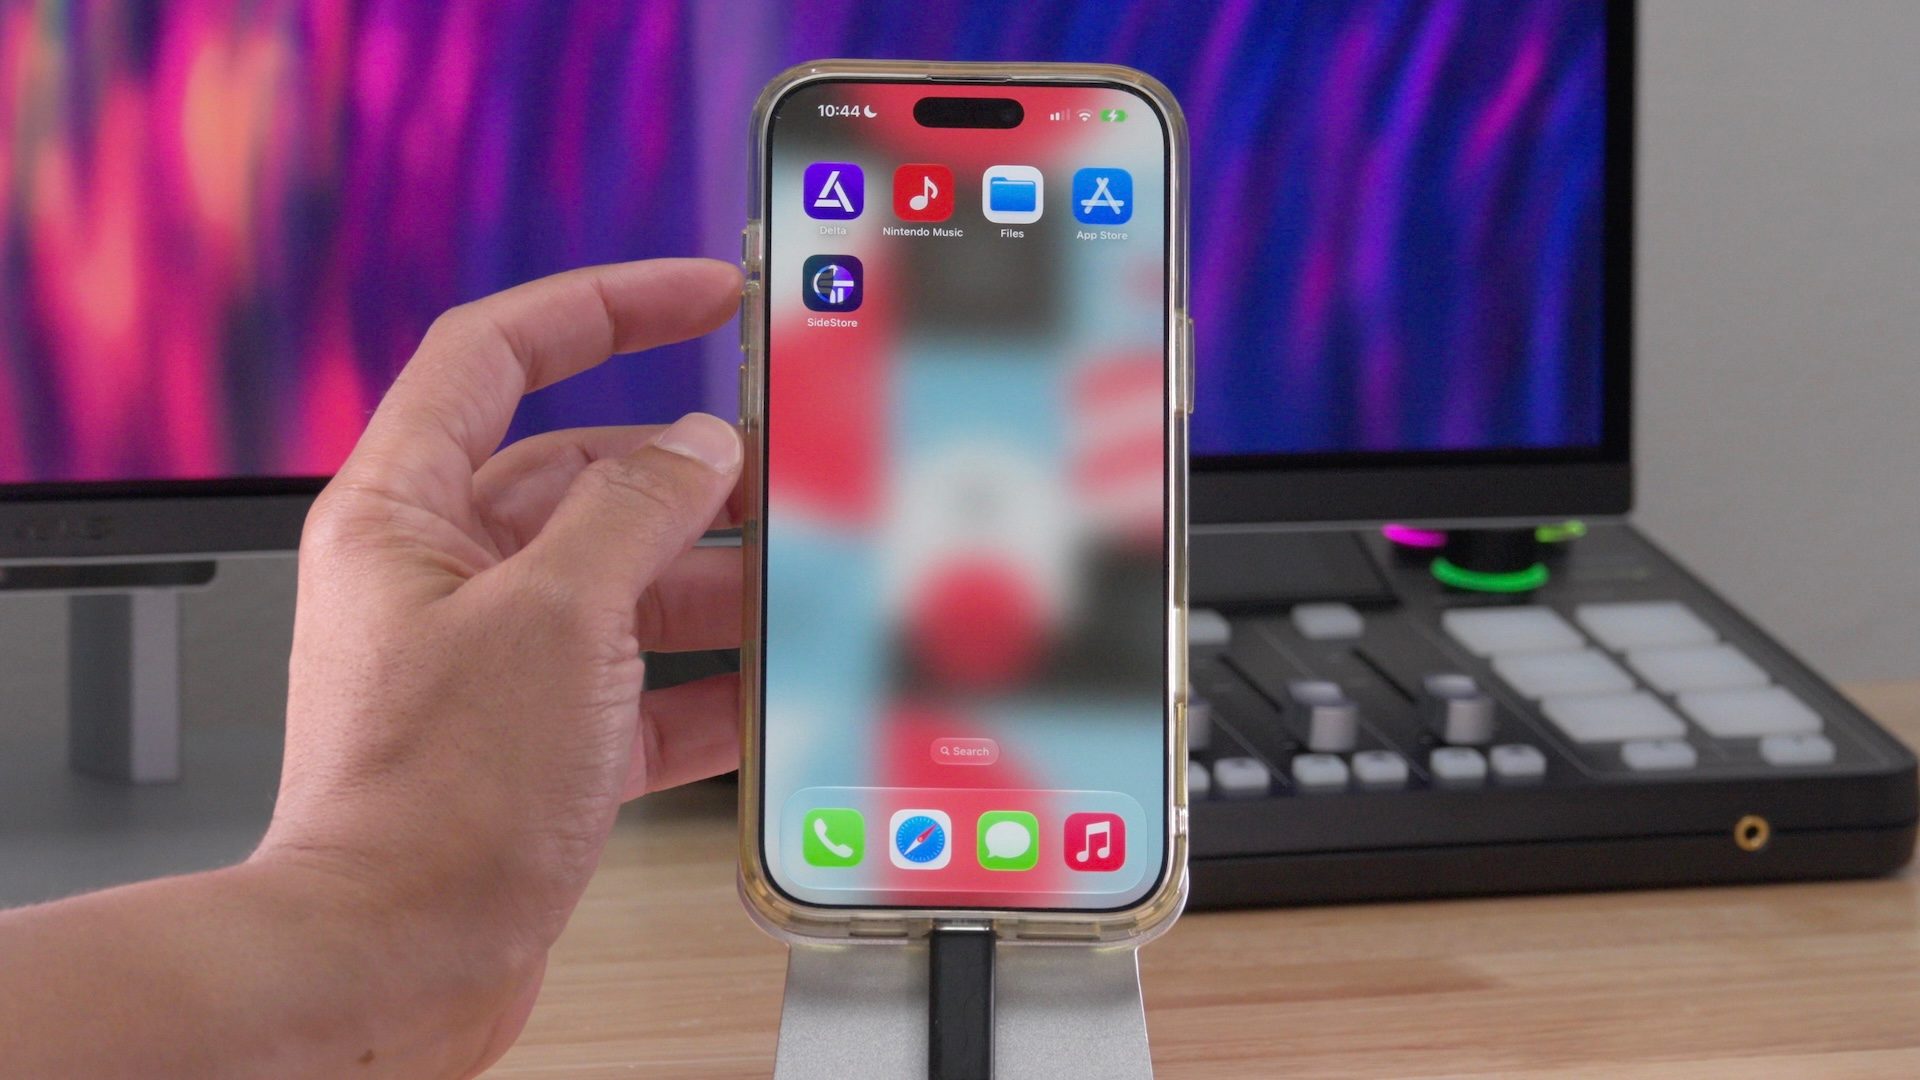
Every app that you install with SideStore needs to register an App ID with Apple, and Apple limits non-developer logins to just 10 App IDs per week. After one week, these App IDs roll off.
Apps installed via Side Store with non-developer logins are also limited to just three apps at once, and SideStore itself counts as one of those apps.
Each app signing will expire after seven days, and you can refresh manually at any time. However, SideStore will automatically refresh apps in the background when connected to LocalDevVPN, and will re-register App IDs for installed apps automatically, no computer required.
Step 6: Open iLoader on your connected Mac, and click SideStore (Stable) under the Installers sections to install SideStore on your iPhone.
Step 7: On iPhone go to Settings → General → VPN & Device Management and tap the panel under Developer App that says “Not Trusted.” On the next page, tap Trust → Allow.
Step 8: Open the SideStore on your iPhone, and you can select Don’t Allow on the network permission pop-up if desired, but you should choose to allow the notifications permission.
Install LocalDevVPN
LocalDevVPN is a free App Store app that serve as a loopback VPN that creates a virtual interface pointing back to your iPhone. It tricks iOS into thinking a paired Mac is attached to your iPhone, which provides the debug toolset that lets you install and refresh side loaded apps.
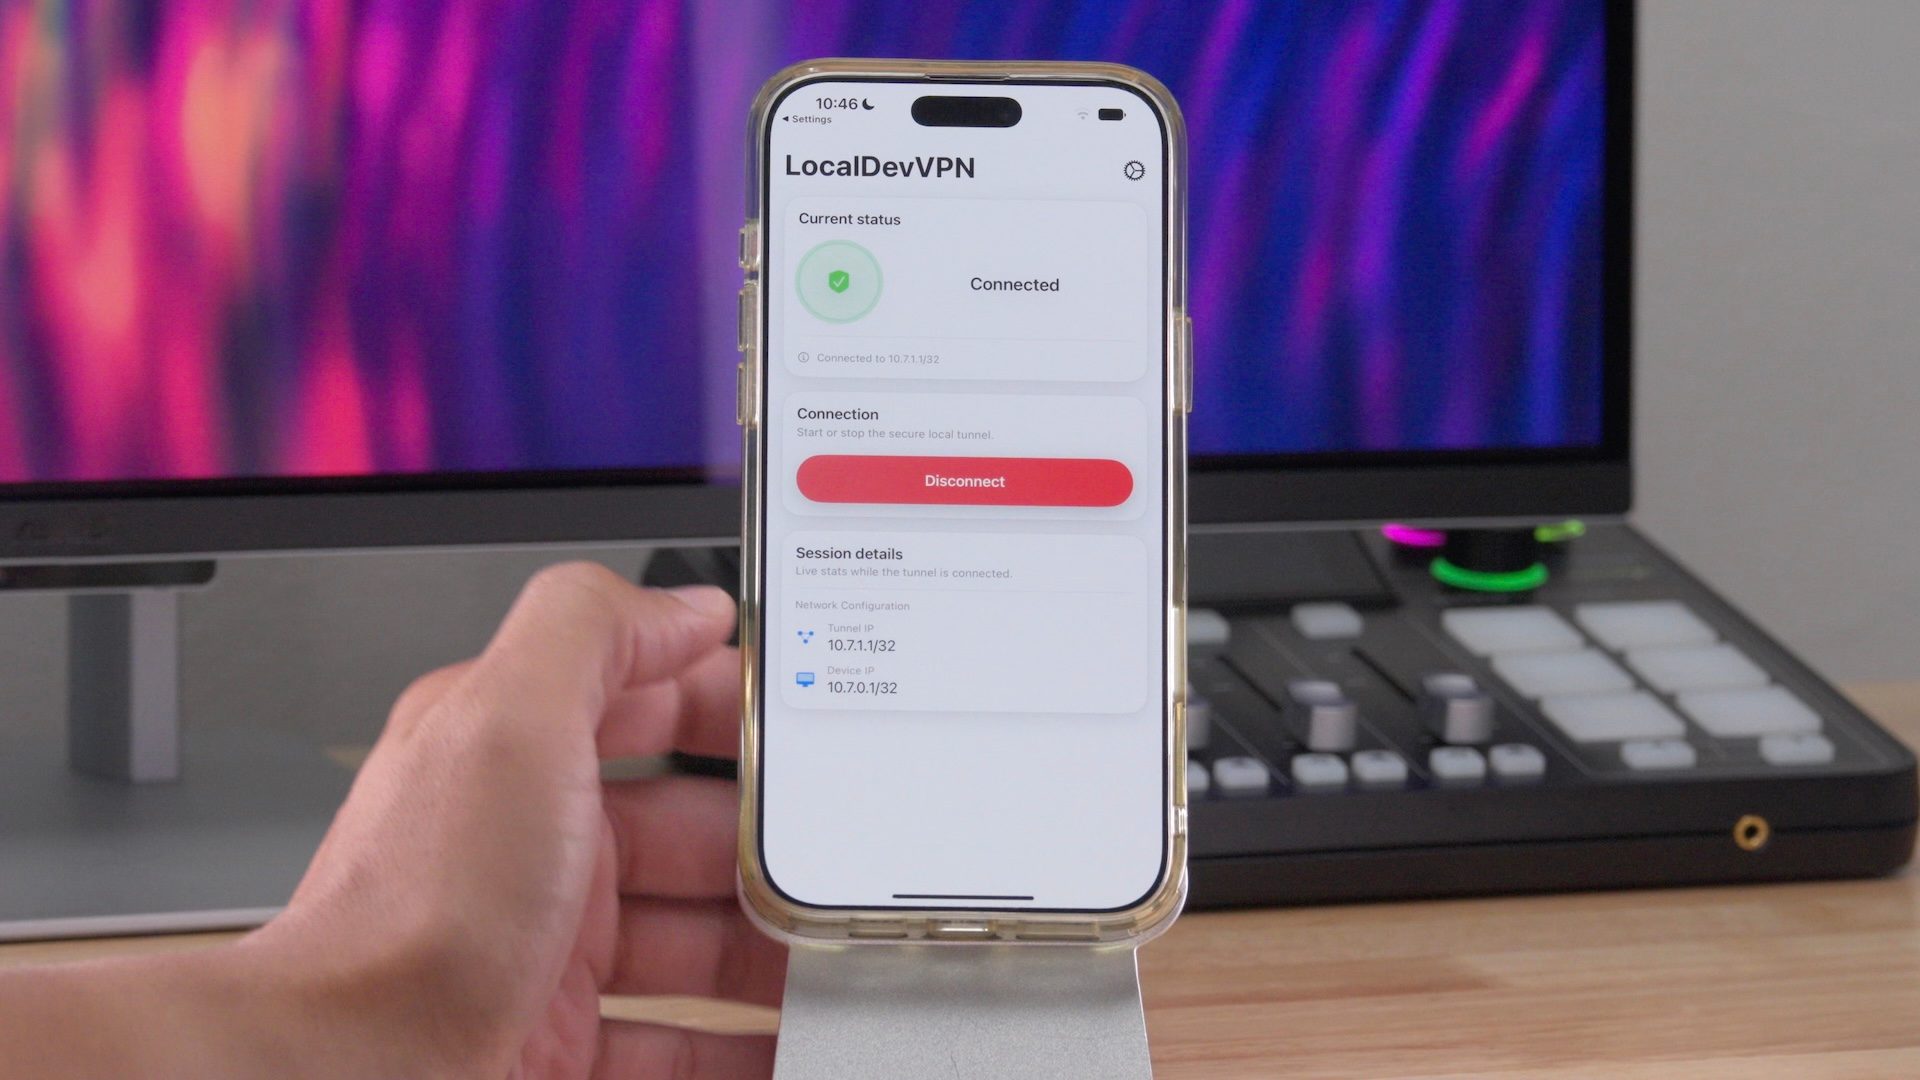
Step 9: On your iPhone go to the App Store and install LocalDevVPN.
Step 10: Open LocalDevVPN, skip the welcome screen and click Connect → Allow. Enter your iPhone’s passcode to add a VPN configuration. The current status for LocalDevVPN should show Connected.
Install SpaghettiPad.ipa
Step 11: Download the SpaghettiPad.ipa from GitHub on your iPhone and save it to your iPhone’s download folder.
Step 12: Open SideStore, tap the My Apps tab at the bottom.
Step 13: From the My Apps tab, tap the + button in the upper left hand corner, and it will open the Files app interface. Select the SpaghettiPad.ipa and you will be prompted to sign in with your Apple ID on SideStore. You can use the same login/pass that you used for iLoader.
Step 14: You should now see SpaghettiPad on your iPhone’s Home Screen.
Configure SpaghettiPad
Disclaimer: I own the original Mario Kart 64 cartridge. If you own the cartridge, you can dump the required ROM file. We will not be covering how to do that or how to download any ROMs.
Step 15: Via the files app, move the Mario Kart 64 (USA).z64 rom to On My iPhone → SpaghettiPad.
Step 16: Open SpaghettiPad on iPhone, and tap Rescan on the “Add your game” pop-up. The next popup should say “Found Mario Kart 64 (US).” Tap the OK button to continue. You should see a black screen for a while, and then the “libultraship” splash screen will be displayed followed by the Mario Kart 64 title screen.
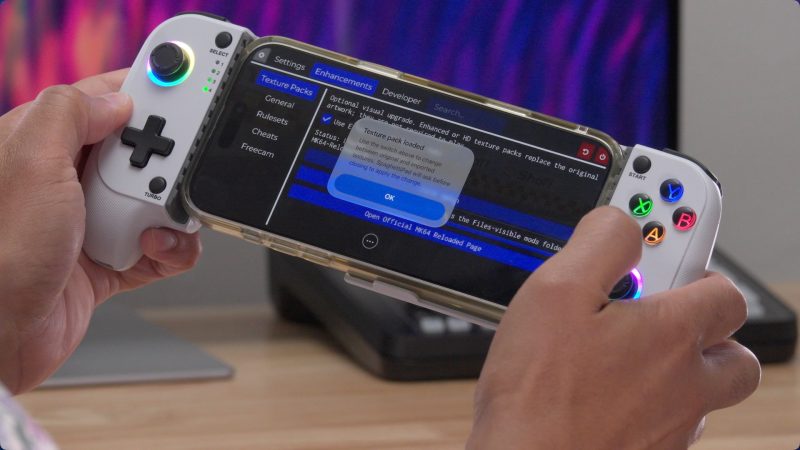
Step 17: Download the Mario Kart 64 HD texture pack and save the .o2r file to On My iPhone → SpaghettiPad → mods.
Step 18: Open SpaghettiPad and tap the ellipses button to open settings. Tap Enhancements → Texture Packs → Check Again. You should see a pop-up that says Texture pack detected. Tap OK. Tap the power button in the upper-right hand corner to quit SpaghettiPad, and the reopen SpaghettiPad to load the texture pack.
Disable the libultraship splash screen
Step 19: Open SpaghettiPad settings again, and tap General. Under Startup Behavior, select Authentic. Now when you open SpaghettiPad, it will skip the libultraship splash screen.
Enable higher Mario Kart 64 frame rates
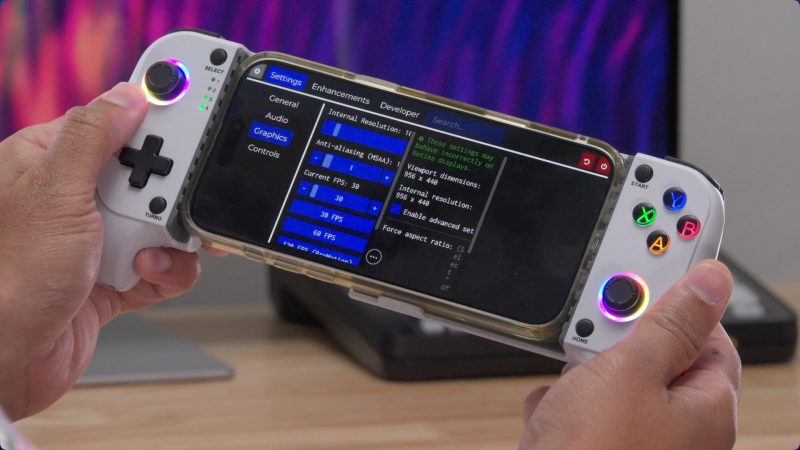
Step 20: Open SpaghettiPad settings once more, and tap Graphics. Tap 60 FPS to jump directly to 60 FPS frame rate. If your device supports ProMotion, you can even select 120 FPS.
Connect a controller
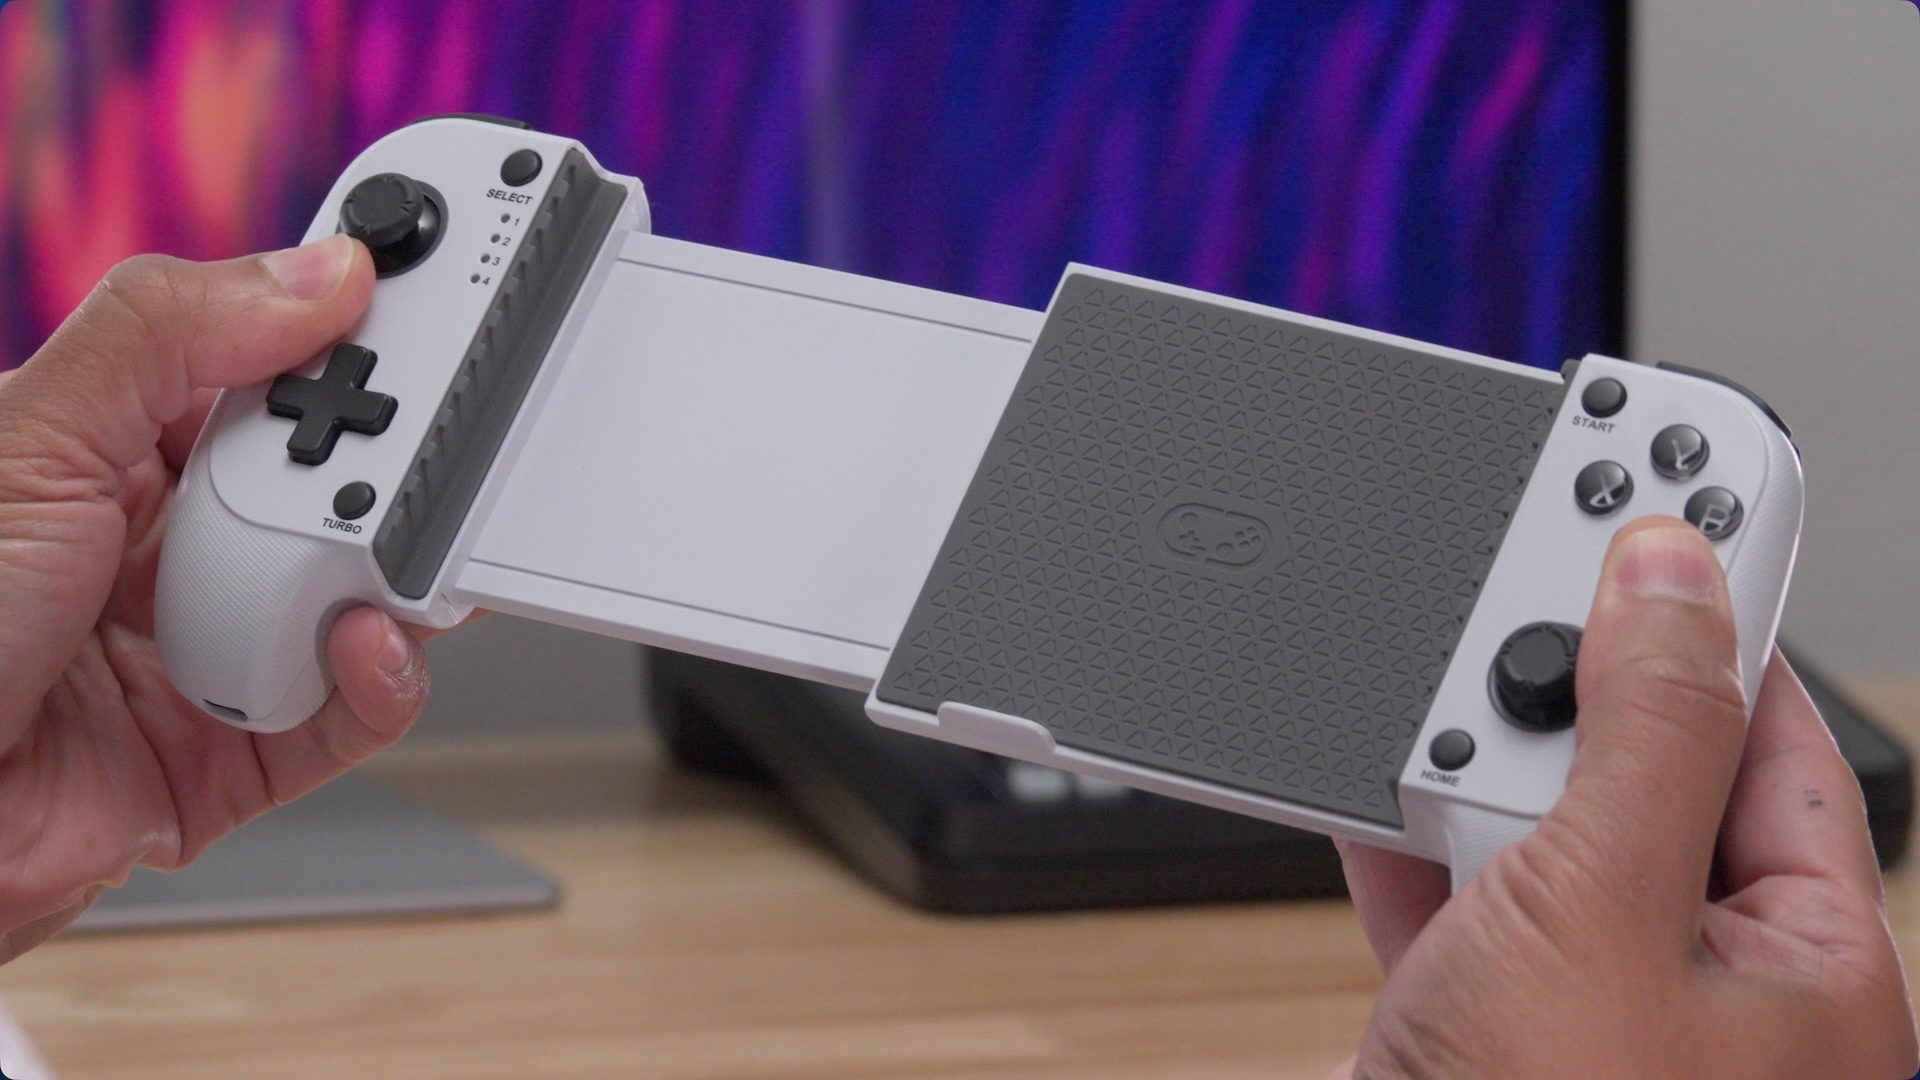
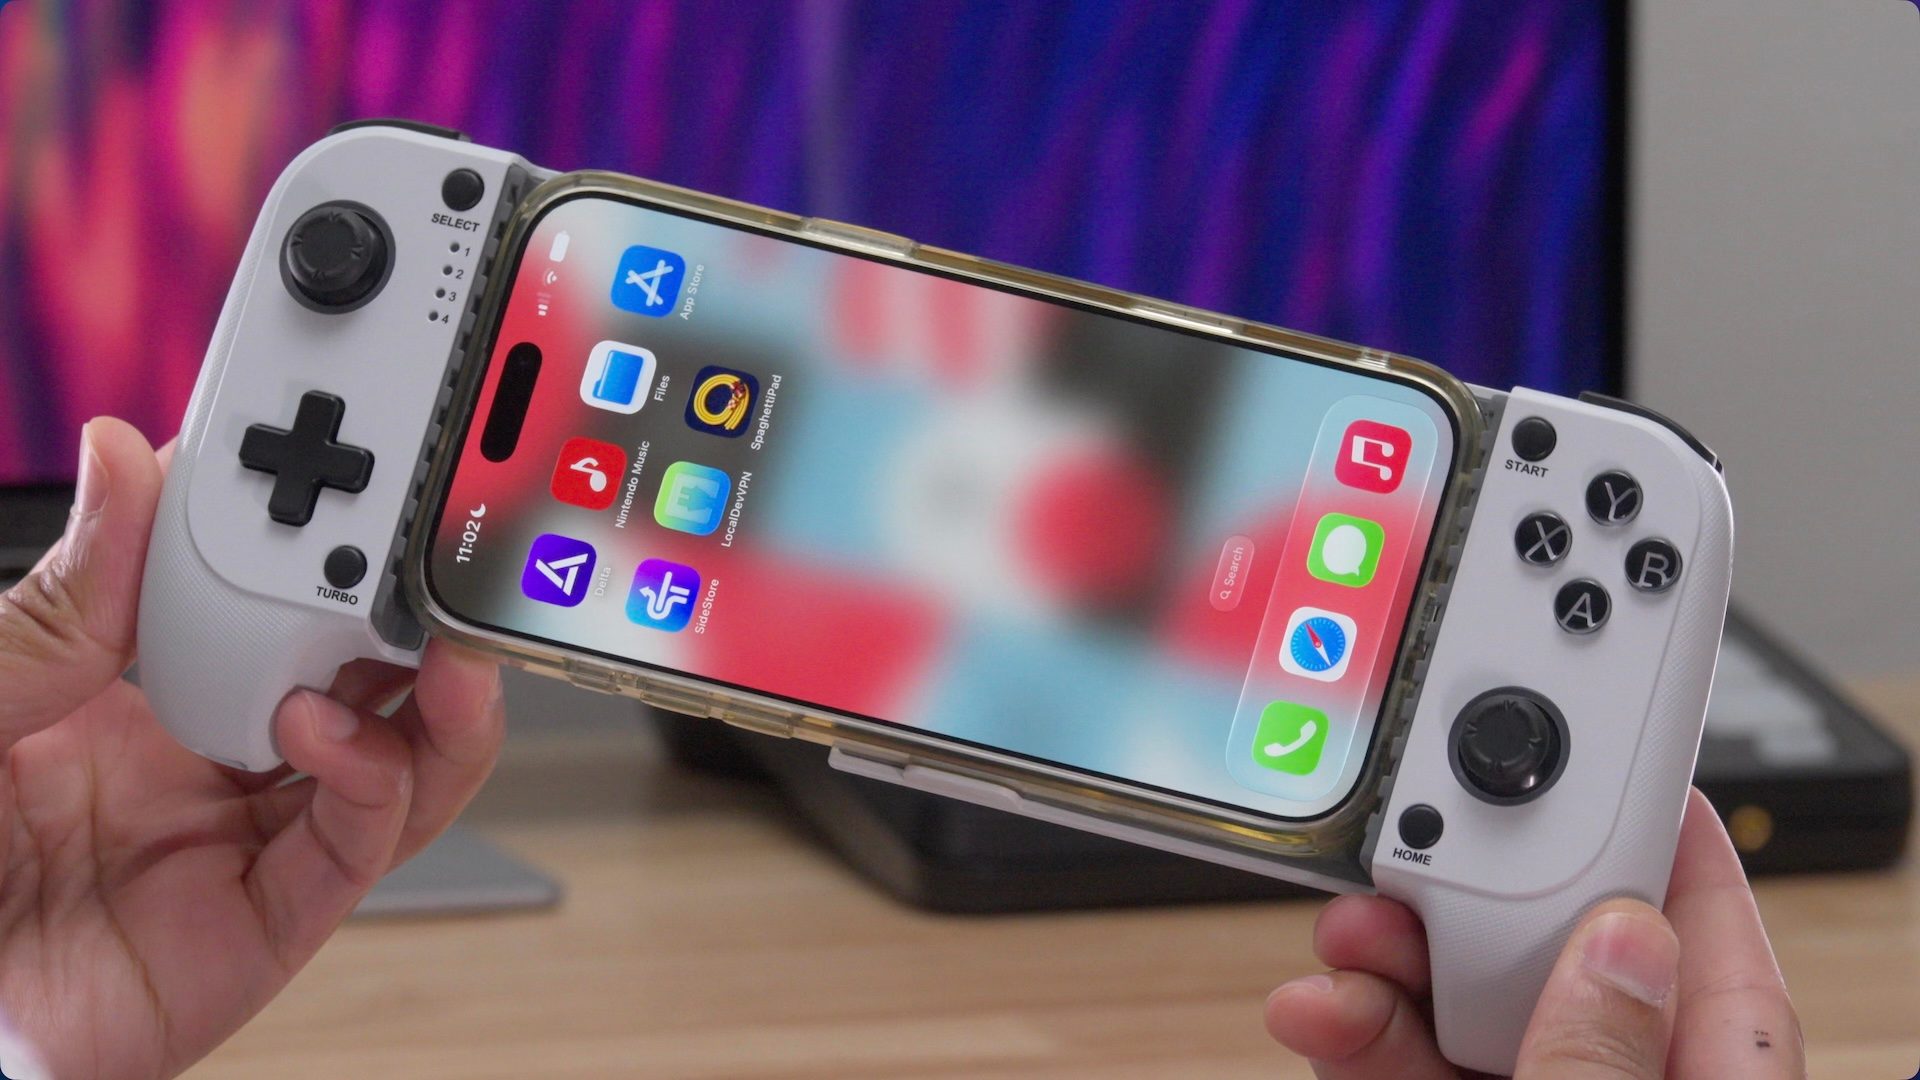
There are many USB and Bluetooth controller options for gaming on the iPhone, including Nintendo’s own Switch Pro controllers, but I’ve really been enjoying the budget-friendly Mocagen MC1. It’s a spring-loaded controller that allows you to mount your iPhone inside and connect via Bluetooth. It features Hall effect analog sticks, USB-C charging, rumble support, dual triggers, RGB lighting, and more. In my hands-on experience it works very well with Mario Kart 64 on iPhone, and it features good build quality for the price.
9to5Mac’s Take
Emulating Mario Kart 64 via an app like Delta might be easier, but it doesn’t take that much effort to get SpaghettiPad running on an iPhone, and it provides a much better experience. SpaghettiPad provides full screen gameplay, higher resolution textures, and much higher frame rates than the emulated version of Mario Kart 64. If you’re looking for the best way to play this classic title on the go, this is the best way to do so.
What do you think? Sound off in the comments!
Jeff’s favorite iPhone accessories:
FTC: We use income earning auto affiliate links. More.