iPhone 18 Pro review: The standard setter
The yardstick that all phones, including the Duo, will be measured by.
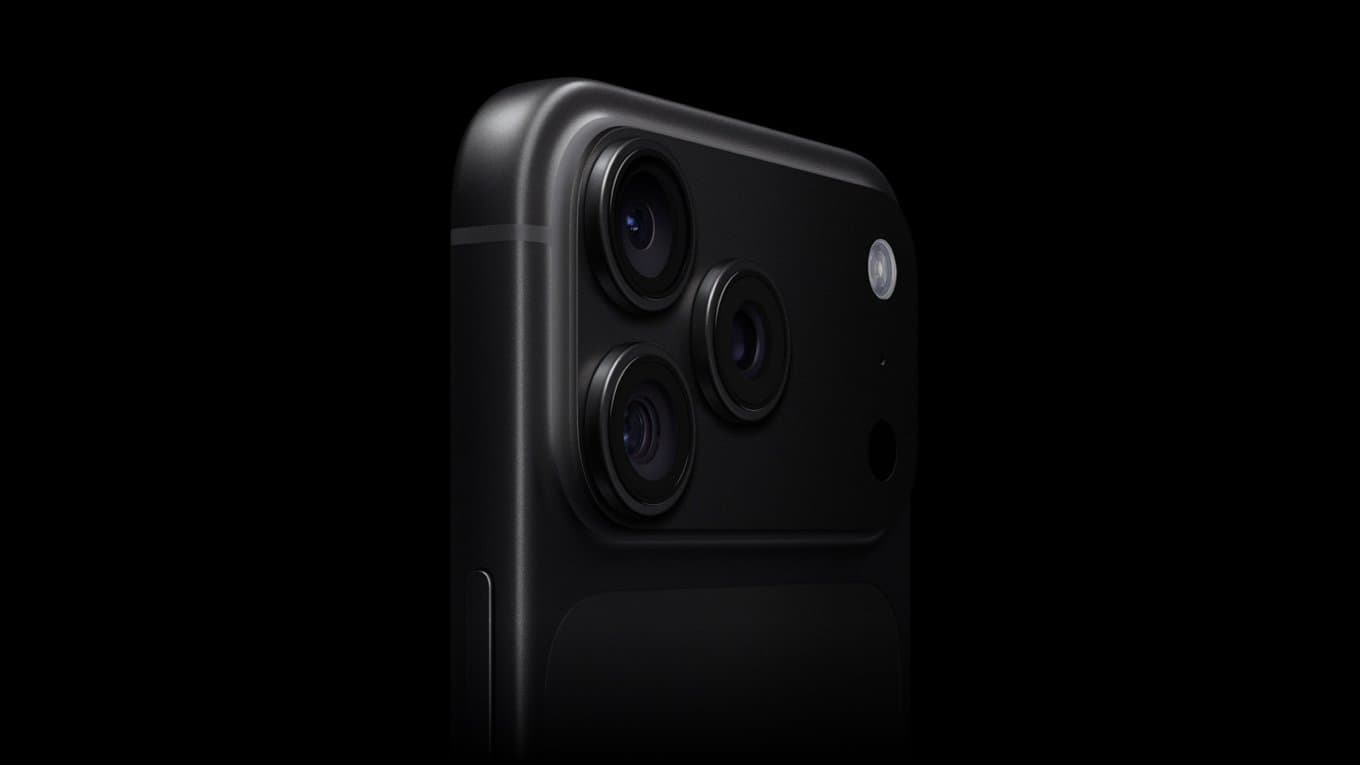
Probably the most outstanding of the iPhone 18 Pro's updates are related to its cameras. There is a bit of a laundry list here, so bear with me.
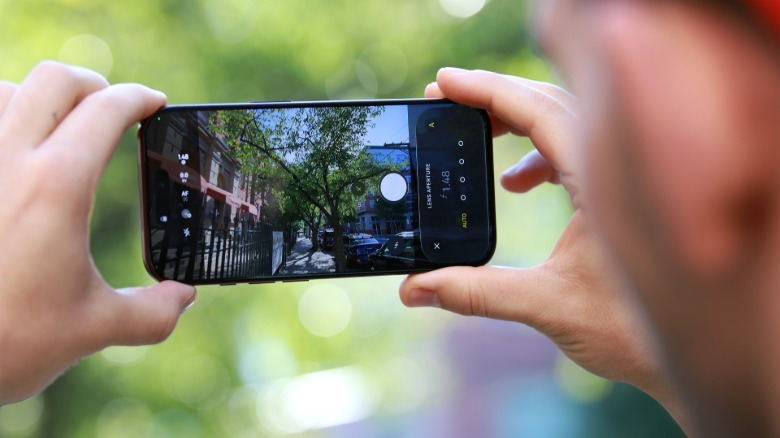
The highlight of the lot is variable aperture, which involves six blades that are controlled by a rotor mechanism to cover and expose the camera sensor. These can be controlled by the user from the Camera app, which offers four aperture settings: f/1.48, f/1.8, f/2.8 and f/4.0. Apple said last week that developers can access a more granular aperture range, so third-party photography apps may eventually have other options.
The other features I will list in order of how excited they make me: Cinematic effects on regular videos, Apple Reference Image, Photographic Styles 3 and Audio Mix for music.
In the interest of staying on topic, I'll focus this section on these new features. But before that, I'll quickly tell you that the Pro continues to have the best camera performance of any iPhone. Photos I took were bright and vibrant, and I particularly loved being able to adjust them after the fact. They still fall short of Google's Pixel series when it comes to Portrait and Night shots, but the addition of variable aperture has meaningfully narrowed the gap. That is, in my experience so far anyway.
Variable aperture's impact lies beyond point and shoot
I've long complained about the rigidity of Apple's Portrait mode, because it forces you to be a certain distance away from your subject and you can't really achieve the effect unless the phone deems you're far enough away. While Variable Aperture doesn't specifically fix Portrait mode on the iPhone 18 Pro, it does offer an alternative means to get a pleasant-looking soft focus effect.
After setting up the redesigned camera app to feature easy access to the new aperture and shutter speed settings, I tried out the iPhone 18 Pro on any subject that seemed suitable. For instance, I stood for a while in front of a plant along a hallway at the San Francisco airport, switching between all four aperture settings to see just how much of the long walkway in the background would come back into focus.
 Cherlynn Low for Engadget
As expected, the difference between shots taken at f/1.48 and f/4.0 (the current ends of the spectrum) isn't very stark. In fact, there's only a very subtle softness in the background in the f/1.48 sample, but the picture was still lovely to look at, thanks largely to the amount of light.
Before I get too far ahead, it's worth noting that by default the camera app will automatically adjust aperture settings on the fly, based on what it thinks is right for the scene. I didn't pay very much attention here, again since the difference between the four currently available levels is so subtle. Plus, upon looking back through all the pictures I took on auto, the settings were almost always at f/1.48, which seems odd in hindsight.
Things got significantly better when I paired the aperture controls with shutter speed tweaks. As most people who shoot in manual mode on any camera will know, being able to have full control over ISO, shutter speed and aperture gives you much more leeway in determining how your shots appear.
The fastest available shutter speed of 1/6000s and slowest of 1 second brings a lot more versatility to the iPhone camera app, and I was able to pair the f/1.48 aperture setting with a 1/250 second shutter speed to capture the twinkling shape of sunlight peeking through some foliage at dusk. By the way, in case you were wondering, the shape of the very subtle bokeh on display here is somewhat off-circle and almost like a wonky heart.
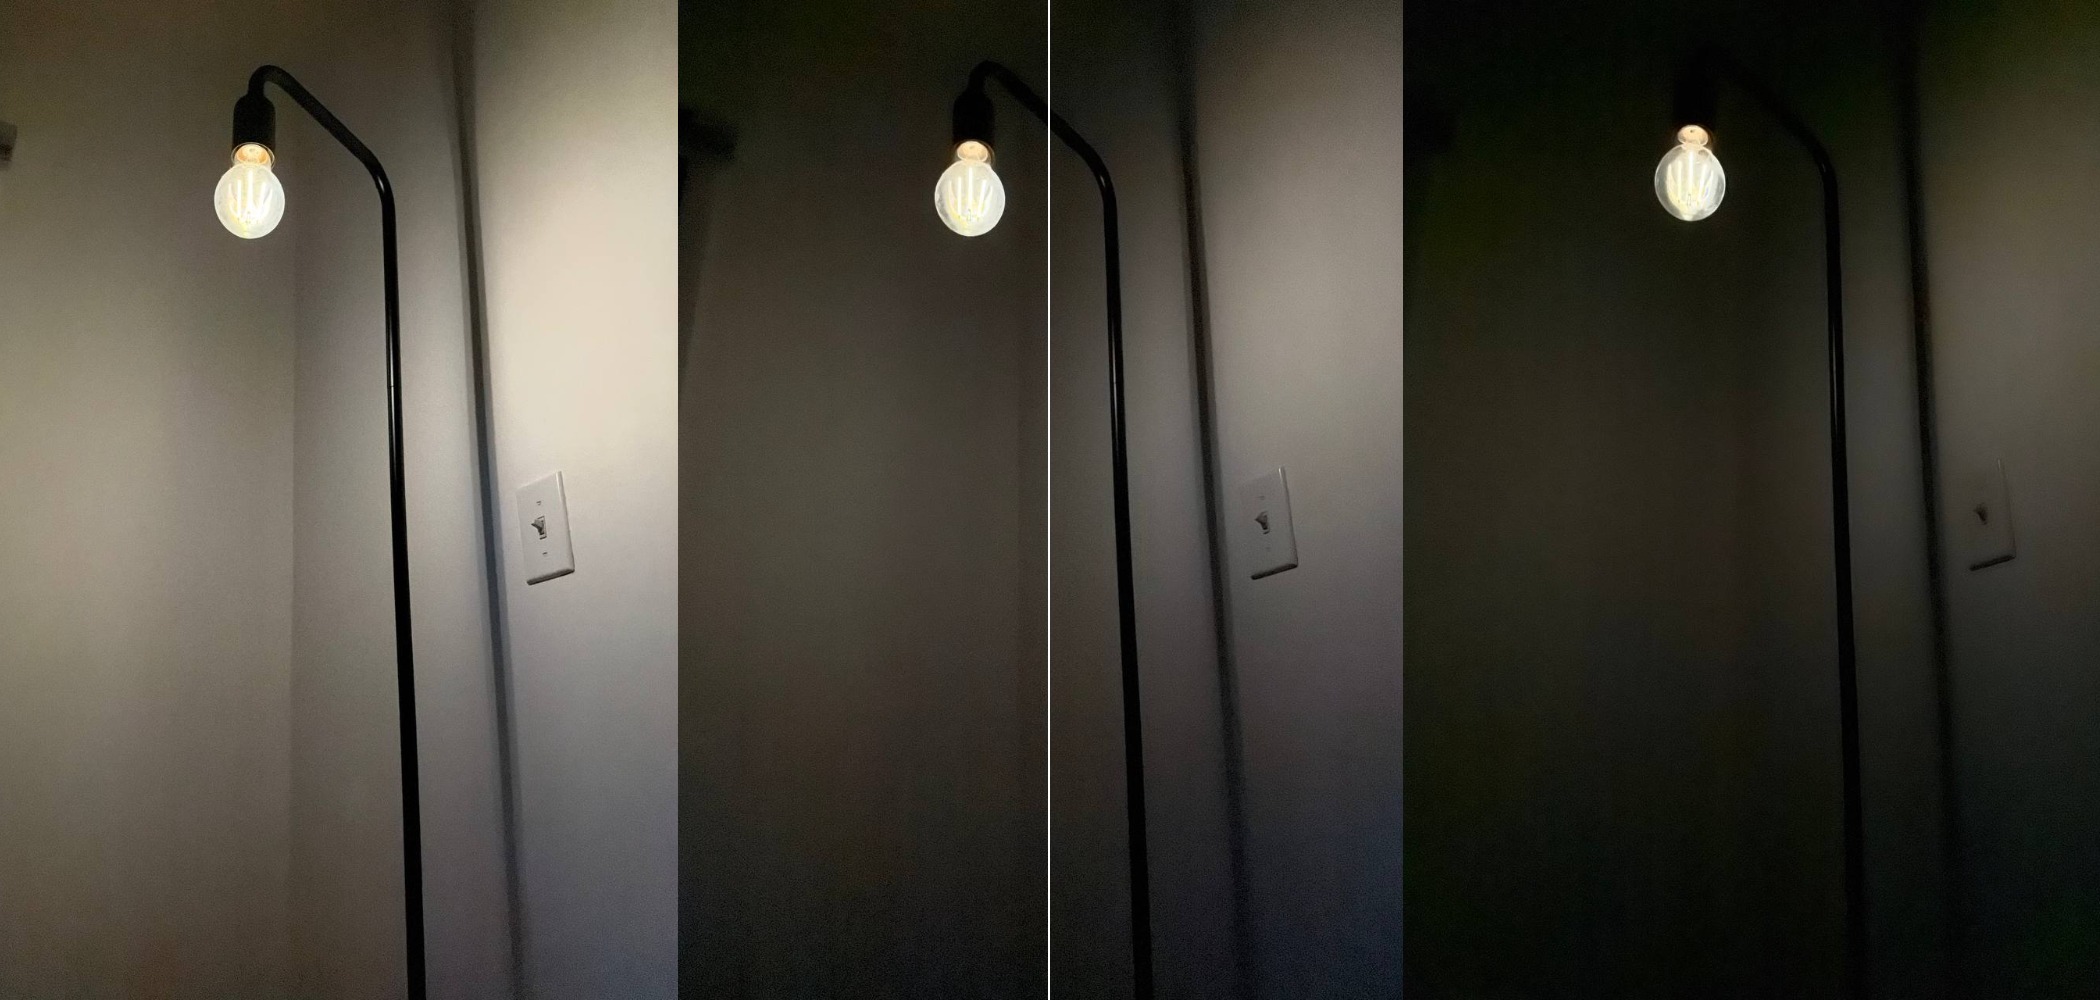
I also like that the manual controls allow me to finally capture lowlight shots to my exact preference. Before this, I had to choose between complete darkness, using the flash or enabling Night mode, which frequently makes scenes seem lighter than they really were. With a fast shutter speed and larger aperture, I was able to make a single light bulb look clear and stark against the white wall it was in front of, without the flare obscuring the filament inside. As a bonus, you can control these settings for video as well, though you'll have to set them before hitting record.
 Cherlynn Low for Engadget
While the redesigned, customizable Camera app will be coming to all phones that can upgrade to iOS 27, these Pro tools will be exclusive to the iPhone 18 Pro as they require the variable aperture to work.
Cinematic effects on regular video is hit or miss
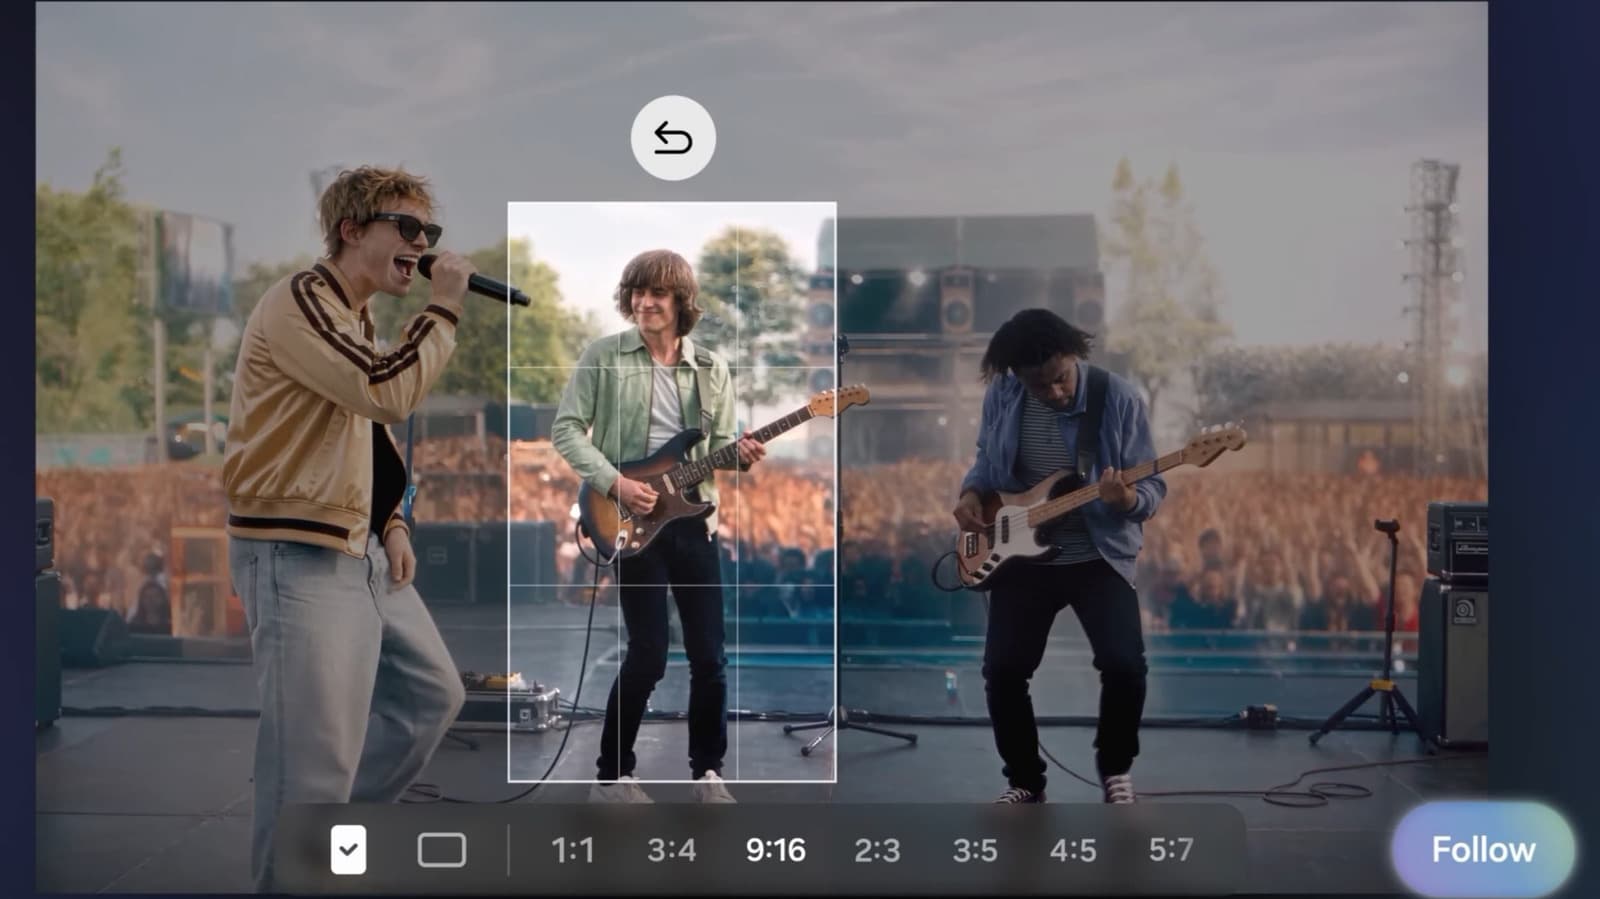
I loved the idea of applying cinematic effects to any video after the fact, because I genuinely like the look of Apple's Cinematic videos. There's something about their lighting and slight blur in the background that appeals to me, so I thought I'd like that effect in all my footage.
The problem is, the execution, at least in my testing so far, is quite subtle and unpredictable. First, it's worth noting that this will only work with videos shot on the iPhone 18 Pro. Sadly, that meant that all my hands-on videos with the iPhone Duo that I took with my iPhone 17 Pro Max were not eligible for the cinematic effects.
Even when I was able to apply them to clips I took of a singer in a low lit room at Apple Park or that plant in the airport hallway or even my partner riding an e-scooter along our driveway, the results were mixed. I think I was the right distance away from the musician, so the cinematic effects were clearer (side note, the stage lights sparkled thanks to the aperture setting) and thus easier to tell when on or off.
My partner, meanwhile, was moving closer and farther away from the camera throughout, so things never really stayed in the same setup long enough. Finally, I suspect I was too close to the plant, because the blurry effect was applied to the background, but at times switched to some of the leaves in the foreground.
This is less a criticism of the new feature that lets you retroactively add cinematic effects to a video and more a clearer look at what scenarios work best for cinematic videos in the first place. And with the ability to apply Cinematic after recording a video, even if you forgot to switch to the right mode at first, users do gain a bit more flexibility and freedom, which is always nice.
Apple Reference Image is a step in the right direction
I'm a fan of any tool added to our arsenal in the fight against AI-exacerbated misinformation, and I think that Apple's Reference Image is not just a useful feature, but also an important signal to the rest of the world. It's basically a mode in the camera app that appears when you enable it, and is one swipe away from the default Photo mode. When photos are captured in that mode, two versions of the image will be saved. One is the picture that typically shows up in your gallery, with the usual HDR, lighting or other tweaks made based on your settings (if you've picked a specific Photographic Style, for example).
The other is a RAW file (DNG, if you're interested) that has to be developed within the Photos app, using the sensor-signed data recorded when you pressed the shutter button. After it's developed, the reference image can be shared to others, but is only viewable on iPhones, iPads or Macs running iOS 27, iPadOS 27 or macOS 27.
In my experience, the reference images developed almost instantly, though it's worth noting here that you'll need an internet connection to develop a reference image. In the Photos app, you can tap on the picture to compare and contrast the two versions and see if anything has changed.
I should point out that by default, there will be some differences between the Reference Image and what is saved to your gallery. The Reference Image is very close to the original RAW file, with minor processing for lens correction and tone mapping, while the version in your camera roll was processed by the camera with specific color treatments and other "computational photography" enhancements.
I used Apple's new Clean Up tool to delete some lines of text in a picture of a Slack conversation on a laptop screen. Then I went into the Reference Image by tapping the "Reference" label on top of the picture in the Photos app. The app prompts users to tap the Reference Image to compare differences and it was easy to see where I had deleted the messages.
It's a pretty basic tool. And while I wish I didn't have to go into a specific mode to create Reference images, I can appreciate the impossible storage demands if reference data was saved every time I took a photo (too many times a day). And though other services and approaches like SynthID and Content Credentials exist, the general public might find it easier to use something as simple as a one-click compare-and-contrast that's right within the Photos app. It could potentially be useful in situations where you were documenting a protest, and you have to somehow prove that something you photographed was not actually edited by AI. A lot of education would still be necessary to make sure the public is aware how this tool works, but of all the verification means out there, Apple Reference Image might be the easiest to use.
Photographic Styles 3 effects are subtle
The last big update to Photography is Photographic Styles. Apple has added a new layer of edits to its well-received filters, so there's one more dimension (in addition to the existing color/light effects) to play with.
On older iPhones, the Photographic Styles options ranged from color treatments like Amber, Rose Gold, Bright and Cool Rose to vibes like Ethereal, Dramatic, Cozy, Luminous Black and White and Stark Black and White. Basically Instagram filters circa 2015.
With the iPhone 18 Pro, you'll be getting additional options to pair with the first group of the above. So you can choose from Rose Gold and Glow, Amber and Glow, Gold and Soft Skin, Bright and Soft Skin etc.
Tap any of these, including the vibey options, and you can access a new Texture edit window that lets you add Glow, Soft Skin or Film effects. Under each of these sits a slider to edit the intensity of its effect. I dragged the soft skin slider all the way to its maximum on a selfie, and was pleased to see that even at its extreme, the effect was relatively mild.
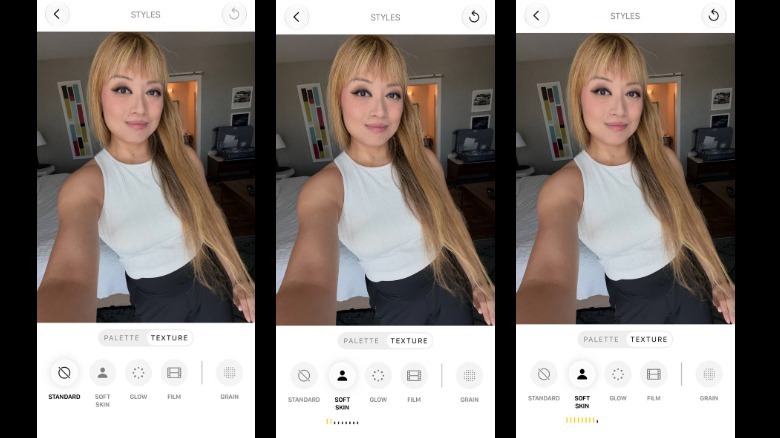 Screenshots
Glow was even subtler, and the only difference I saw when playing with its slider was the lightening of some shadows. I also could barely tell there was anything done when trying out Film, although when you enable Film, you can also toggle on the additional "Grain" filter at the right. This adds some noise to the image, which sounds a bit counterintuitive, but does lend a certain nostalgic effect.
The intensity of the grain depends a bit on the picture, as photos in darker environments naturally have the propensity to show more noise. My daytime pictures of plants definitely showed little change, but the picture I took of that light bulb in low light had a more pronounced difference.
Originally published on Engadget